Cherokee License Plate Relocation
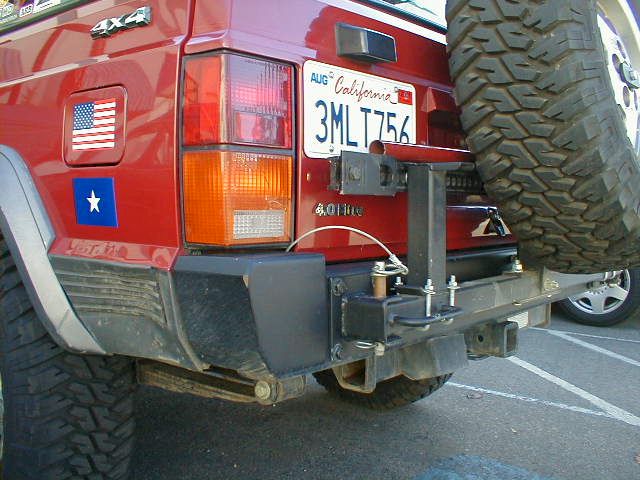
Moving the spare tire to the rear covered up the license plate. To keep things legal, I moved the plate and installed a license plate light.
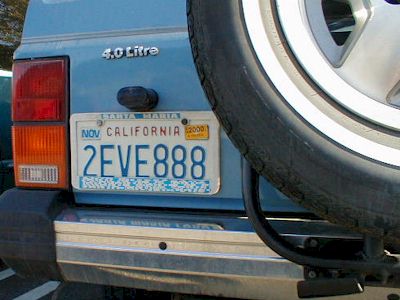
After diligent searching, I finally spotted a Cherokee with a factory installed rear spare mount and the alternate license plate and light location. Duplicating the original location and parts would be my style, but the factory placement is too low and would be partially covered by the hi-lift jack. With a little work, I ended up improvising a really nice setup.
Moving the License Plate
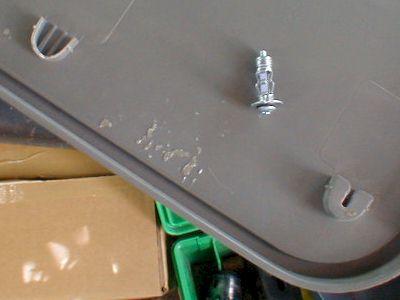
To install the plate, I purchased some moly bolt/nuts. These nuts can be inserted blind (you don't need access behind them) and work by expanding until the four arms are tight against the rear of your surface. Just insert them and tighten. Once they're tight, remove the bolt and the nut stays in place. My first choice was an expanding rubber nut, but couldn't find any.
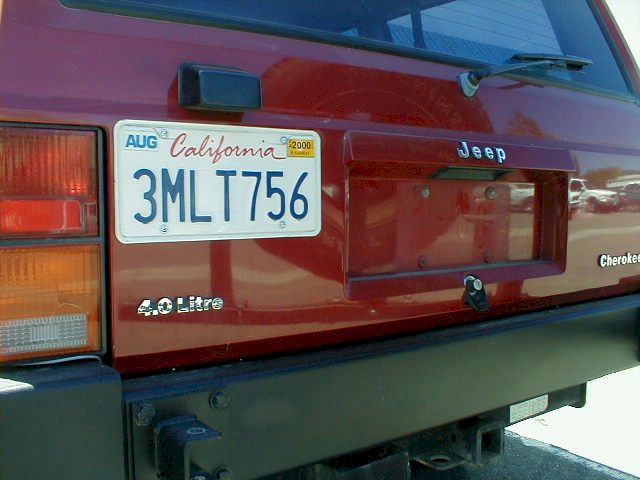
For a mounting location, I positioned the plate as high and to the left (driver's side) as I could to avoid the spare tire and the hi-lift jack. I marked the license plate holes and drilled to accept the moly nuts. The rear hatch is a bonded two-piece fiberglass unit. In two locations, I drilled through a double-thickness spot necessitating a longer moly nut. In the other two places I used a shorter nut because of the single thickness. The moly nut is good for this application because the two single-thickness holes are hidden... there is no way (without creating a large access hole) of placing a standard nut from the inside.
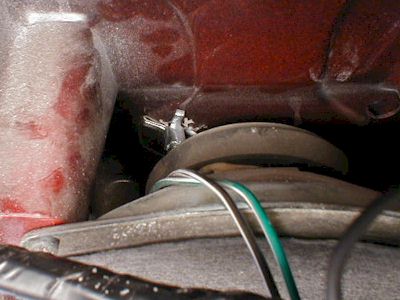
The only trouble spot in mounting the plate was near the speaker. The moly nut had barely enough room to fit behind the speaker magnet.When installed, the bolt extended too far beyond the nut leaving not enough room for the speaker. Temporarily, I used extra washers on the outside to shim the bolt head. Later, I used a set of electrical strippers/crimpers to cut off the end of the bolt so that it's flush with the nut.
Installing the Light
I knew what I needed to illuminate the plate--a shrouded light--but wasn't sure where to find one. The factory light looks really cheap, so I didn't want to go that route. NAPA sells some equally cheesy round lights and a nice, but rather expensive ($25) grey plastic light. After buying front and rear ARB lockers, I'm in a budget mood. I was thinking junk yard. Sorry... auto parts recycler. I kept my eye open for a couple of weeks for a suitable donor vehicle make/model. Very few--and mostly older--models have an independent plate light. The Isuzu Trooper has a good, but large, top-mount light assembly on the rear. The Nissan Pathfinder has a different setup... they light their plate with two small side-mounted lights. With a general idea of what I was looking for, I headed for the salvage yard. After explaining what I was doing, the guys let me roam the yard looking for the right part. I found a few decent choices before striking gold. There were a pack of Toyota Corollas, all with nice black plastic side-mounted lights. For $5, I unbolted one of the lights from a rusty '83 and headed home.
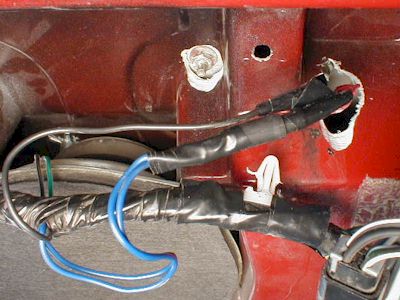
To install the light assembly, I marked and drilled holes for the two bolt studs and the wire package. From the inside I needed to use the Dremel grinder and a drill with a large spade bit to make room for the nuts. The bolt studs were only long enough to penetrate the outer fiberglass layer. On the left (the passenger side... I'm facing backward working on the inside of the car), I ground away the inside layer to make room for the nut and socket (hence all the white dust in some of the images). On the right, I used the spade bit and the grinder to create an access for the electrical wires and the socket and nut.
Wiring the Light
There is indeed a factory option for the spare tire mount; there's a spare set of license plate light wires in just the right spot. The blue (hot) and black wires match those going to the original built-in plate light in the center of the hatch. Simply connect the new light to the blue and black wires. I decided to leave the original connectors alone (except that I unplugged them) in case... I don't know why... this XJ is never going back to original. To attach my new light, I soldered the ground wire and used the spare set of bullet connectors for the hot side.
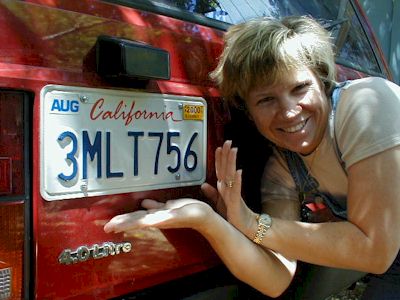
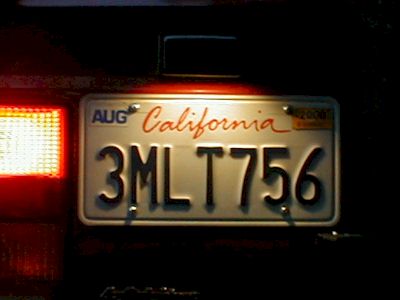
Once completed I turned on the running lights. The bulb wasn't burned out! Excellent. I waited until dark for the full effect. And finally... Jacquie presents the relocated license plate and scavenged light. Here's the latest image.
