
Valentine One Radar Locator - Installation
How I did it | Lorne Speaks | Derek Responds | Bill Adds | Brian Blows | Alfred Decodes | jdlamonica Says
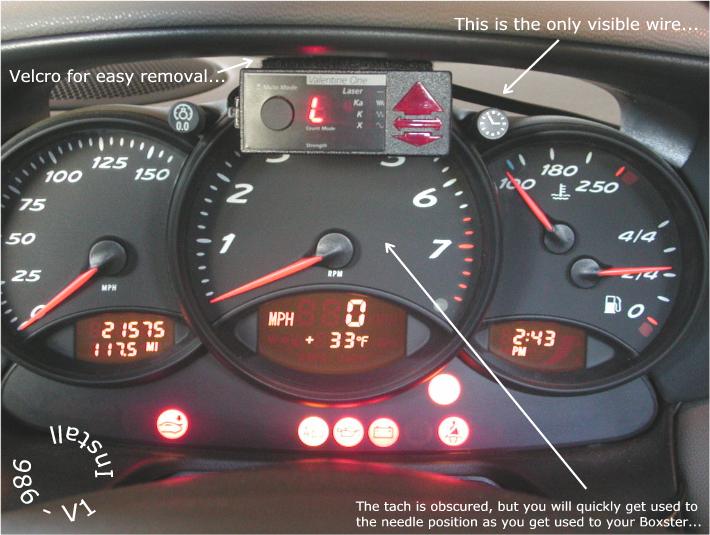
The Valentine unit changed in 1998. My unit, purchased in July 1997, does not have a mute button on the Concealed Display. I reach up to the main unit to mute the V1. Later models have a mute button on the remote making my behind-the-wheel mounting less desirable (though IMHO still better).
Hints from Lorne Blackman:
I did the deed yesterday with my Valentine One, hardwiring into the car using Berkeley's great instructions. I have some suggestions, below, but let me first say "thank you, Berkeley" -- without your lead I never would have taken the plunge!! Took my time, and even with my less-than zero mechanical aptitude it went just fine.
I offer the following suggestions, based on my experience:
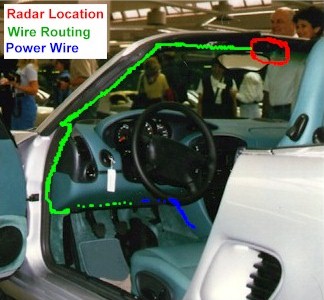
1. If you are going to mount on the passenger side, as I did, it was easier to route the cable up the passenger side pillar/windscreen rather than bringing across the driver side. There is also no question about a single cable being long enough that way.
2. I pulled both pieces of carpet on the center console, but not the leather panel. This allowed me straight through access to the wire harness so I could work from the left, but pass through to the right.
3. The harness [mine is a 98] is 4 wired, and I used the green/black to have a hot/switched wire. It is perfect. But -- what does the harness connect to? It appeared to be lying there loose. I have heated seats, but not power seats, and no hardtop. The electricals in the center console [seat heaters and power windows] are working fine. Is this for an option I do not have? I will check the manual for a wiring diagram.
The 4-wire harness is used for the factory phone. My early model 3-wire harness? I don't know.
4. To hide the cable I pulled the passenger side sunvisor torx bolts [see FAQ on removing air bag stickers] and in doing so, released the trim unit down the pillar. This allowed for full hiding of the cable rather than jamming it in. Much easier.
5. I will probably put the remote unit in either the lower shelf or in front of the shifter, but want to drive it a bit before finalizing that decision. For now I have enough cable available to go in a number of different directions.
That is it ... as I said, great instructions from Berkeley and a simple job. I spent about 90 minutes on it, but was in no hurry and exploring as I went.
Lorne
Derek J. Stutsman responds:
I did mine the exact same way [as Lorne]. The cable was not long enough for the driver's side so I ran it on the passenger's side.
I also agree about your mounting choice for the remote unit. I have mine attached with the (supplied) Velcro at present, but a stereo shop says they can fabricate a new piece of ABS plastic with the remote nicely flush-mounted into it. That would be cool, eh? Shouldn't be too expensive either.
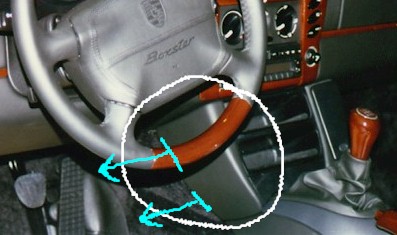
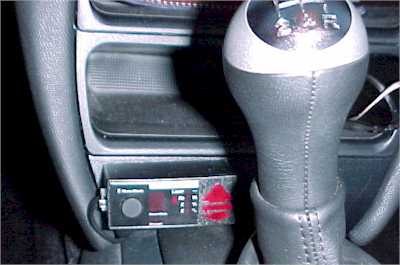
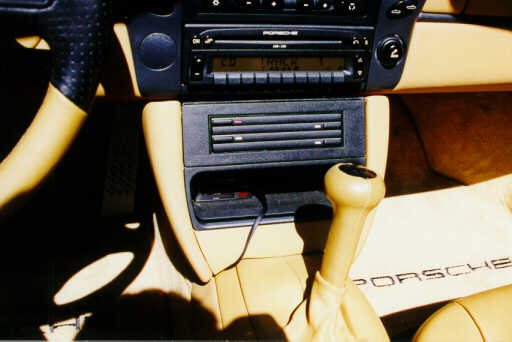
Here is a picture of the remote mounted in front of the shifter. It doesn't interfere with the shifter at all, and it's very convenient for muting.
William Lewis adds:
 I sent Berkeley pictures of
my installation, including the 4-wire harness differences in
the '98. He just hasn't had a chance to update his site yet (too busy with fame and
accolades from his article I guess :))
I sent Berkeley pictures of
my installation, including the 4-wire harness differences in
the '98. He just hasn't had a chance to update his site yet (too busy with fame and
accolades from his article I guess :))
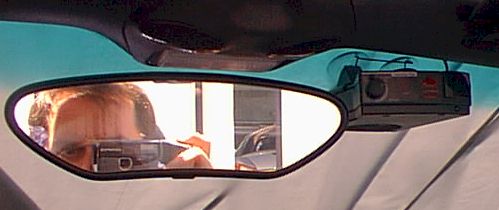
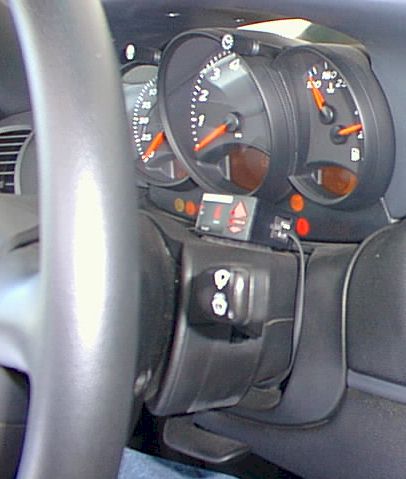
 I had no problem routing on
driver side with unit mounted on the passenger side of the mirror - but not much to spare!
I routed the wire over the top of the vent duct, steering column and some other stuff that
was under there, and this tucked it away nicely.
I had no problem routing on
driver side with unit mounted on the passenger side of the mirror - but not much to spare!
I routed the wire over the top of the vent duct, steering column and some other stuff that
was under there, and this tucked it away nicely.
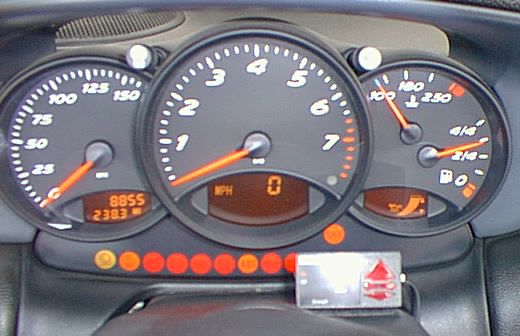
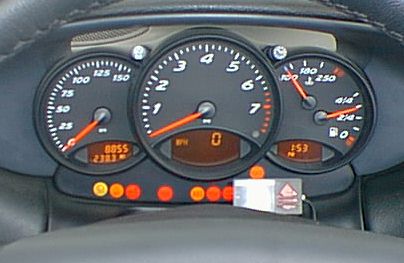
Here's a picture of my remote. I like it hidden in the open tray in front of the shifter. The shade in the back of the tray helps visibility of the LEDs in direct sunlight (top down), and it's easy to find the mute button with the tray to guide your hand in there while you are watching the road.
All personal preference of course! I couldn't bring myself to cutting a hole in the back of the tray, hence the short-term solution of letting the ugly black wire hang out the front.
Bill from MA
Brian blows a fuse:
Thanks for the installation tips. I had a small problem that had me cursing them for a while. I have a '99 and I hooked up the power to the green wire in the 4-wire harness as instructed, but no power with ignition on or off. Got to work with my multimeter, but no luck.
After much contemplating, I checked the fuses. Guess what? Number E8 (7.5 A) was blown. I replaced it with the spare and voila! Might be useful to include this bit of info for others.
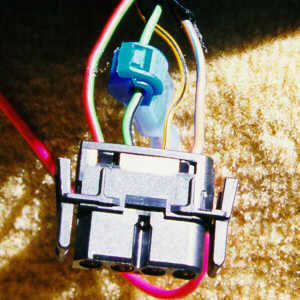
Alfred decodes the 4-pin connector:
Thanks for all your help! Here are the pinouts for the ['98 and newer, 4-pin] connector:
| red w/green | 12V + | |
| green w/black | ignition | |
| yellow w/black | trigger radio mute | |
| brown | ground |
I included a picture of my install in case you wanted to add it to your site. Thanks again!
-Alfred
jdlamonica says:
You ignored the power supply right in front of you... the dome light. Power is available anytime the ignition switch is on.
If you've got more, different, or better information about the Valentine One installation, tell me about it at berkeley(at)industryfigure.com. I'll add it here.
 Valentine One Web Site